How to Clean a Grinder: A Step by Step Guide
Published on September 8, 2023
Last Updated on September 8, 2023
Hey, folks! So, let’s talk grinders—your trusty sidekick for coffee, herbs, and whatnot. Essential, aren’t they? But guess what, they need some TLC, too. If you think just grinding stuff in there is enough, think again. Regular cleaning? Absolutely key for keeping them humming like a well-oiled machine. Residue? That’s a nemesis, for sure! Let’s dive into this ultimate guide on how to clean a grinder and make it shine like a star!
This post is intended as information and for general knowledge only. It is not a substitute for medical advice, diagnosis, or treatment. It is recommended that you talk to a healthcare professional about this before introducing cannabinoids into your daily routine (especially if you have been diagnosed with any medical conditions or are under any medication). It is not recommended to drive or operate any machinery when using hemp-derived products. Use responsibly!
Introduction to Grinder Cleaning
Let’s start with why it even matters. That regular cleaning? It’s not just about aesthetics. Nope. Grinders go a bit dull with residue buildup. The sticky resin? Ugh, gross, right? A dirty grinder? Not cool. Whether it’s a coffee grinder or a cannabis grinder, each type demands a bit of love. Metal grinder, plastic grinder, or even a classic wooden grinder, all got their quirks. A coffee grinder, though, it’s like a temple for those sacred beans. Burr grinder fans know the deal—clean grinder equals fresh taste, every single sip. Weed grinders or any herb grinder, for that matter, need a buddy like you to brush away the debris. Call it extending the life of your grinder and savoring every aromatic note!
Tools and Materials Needed
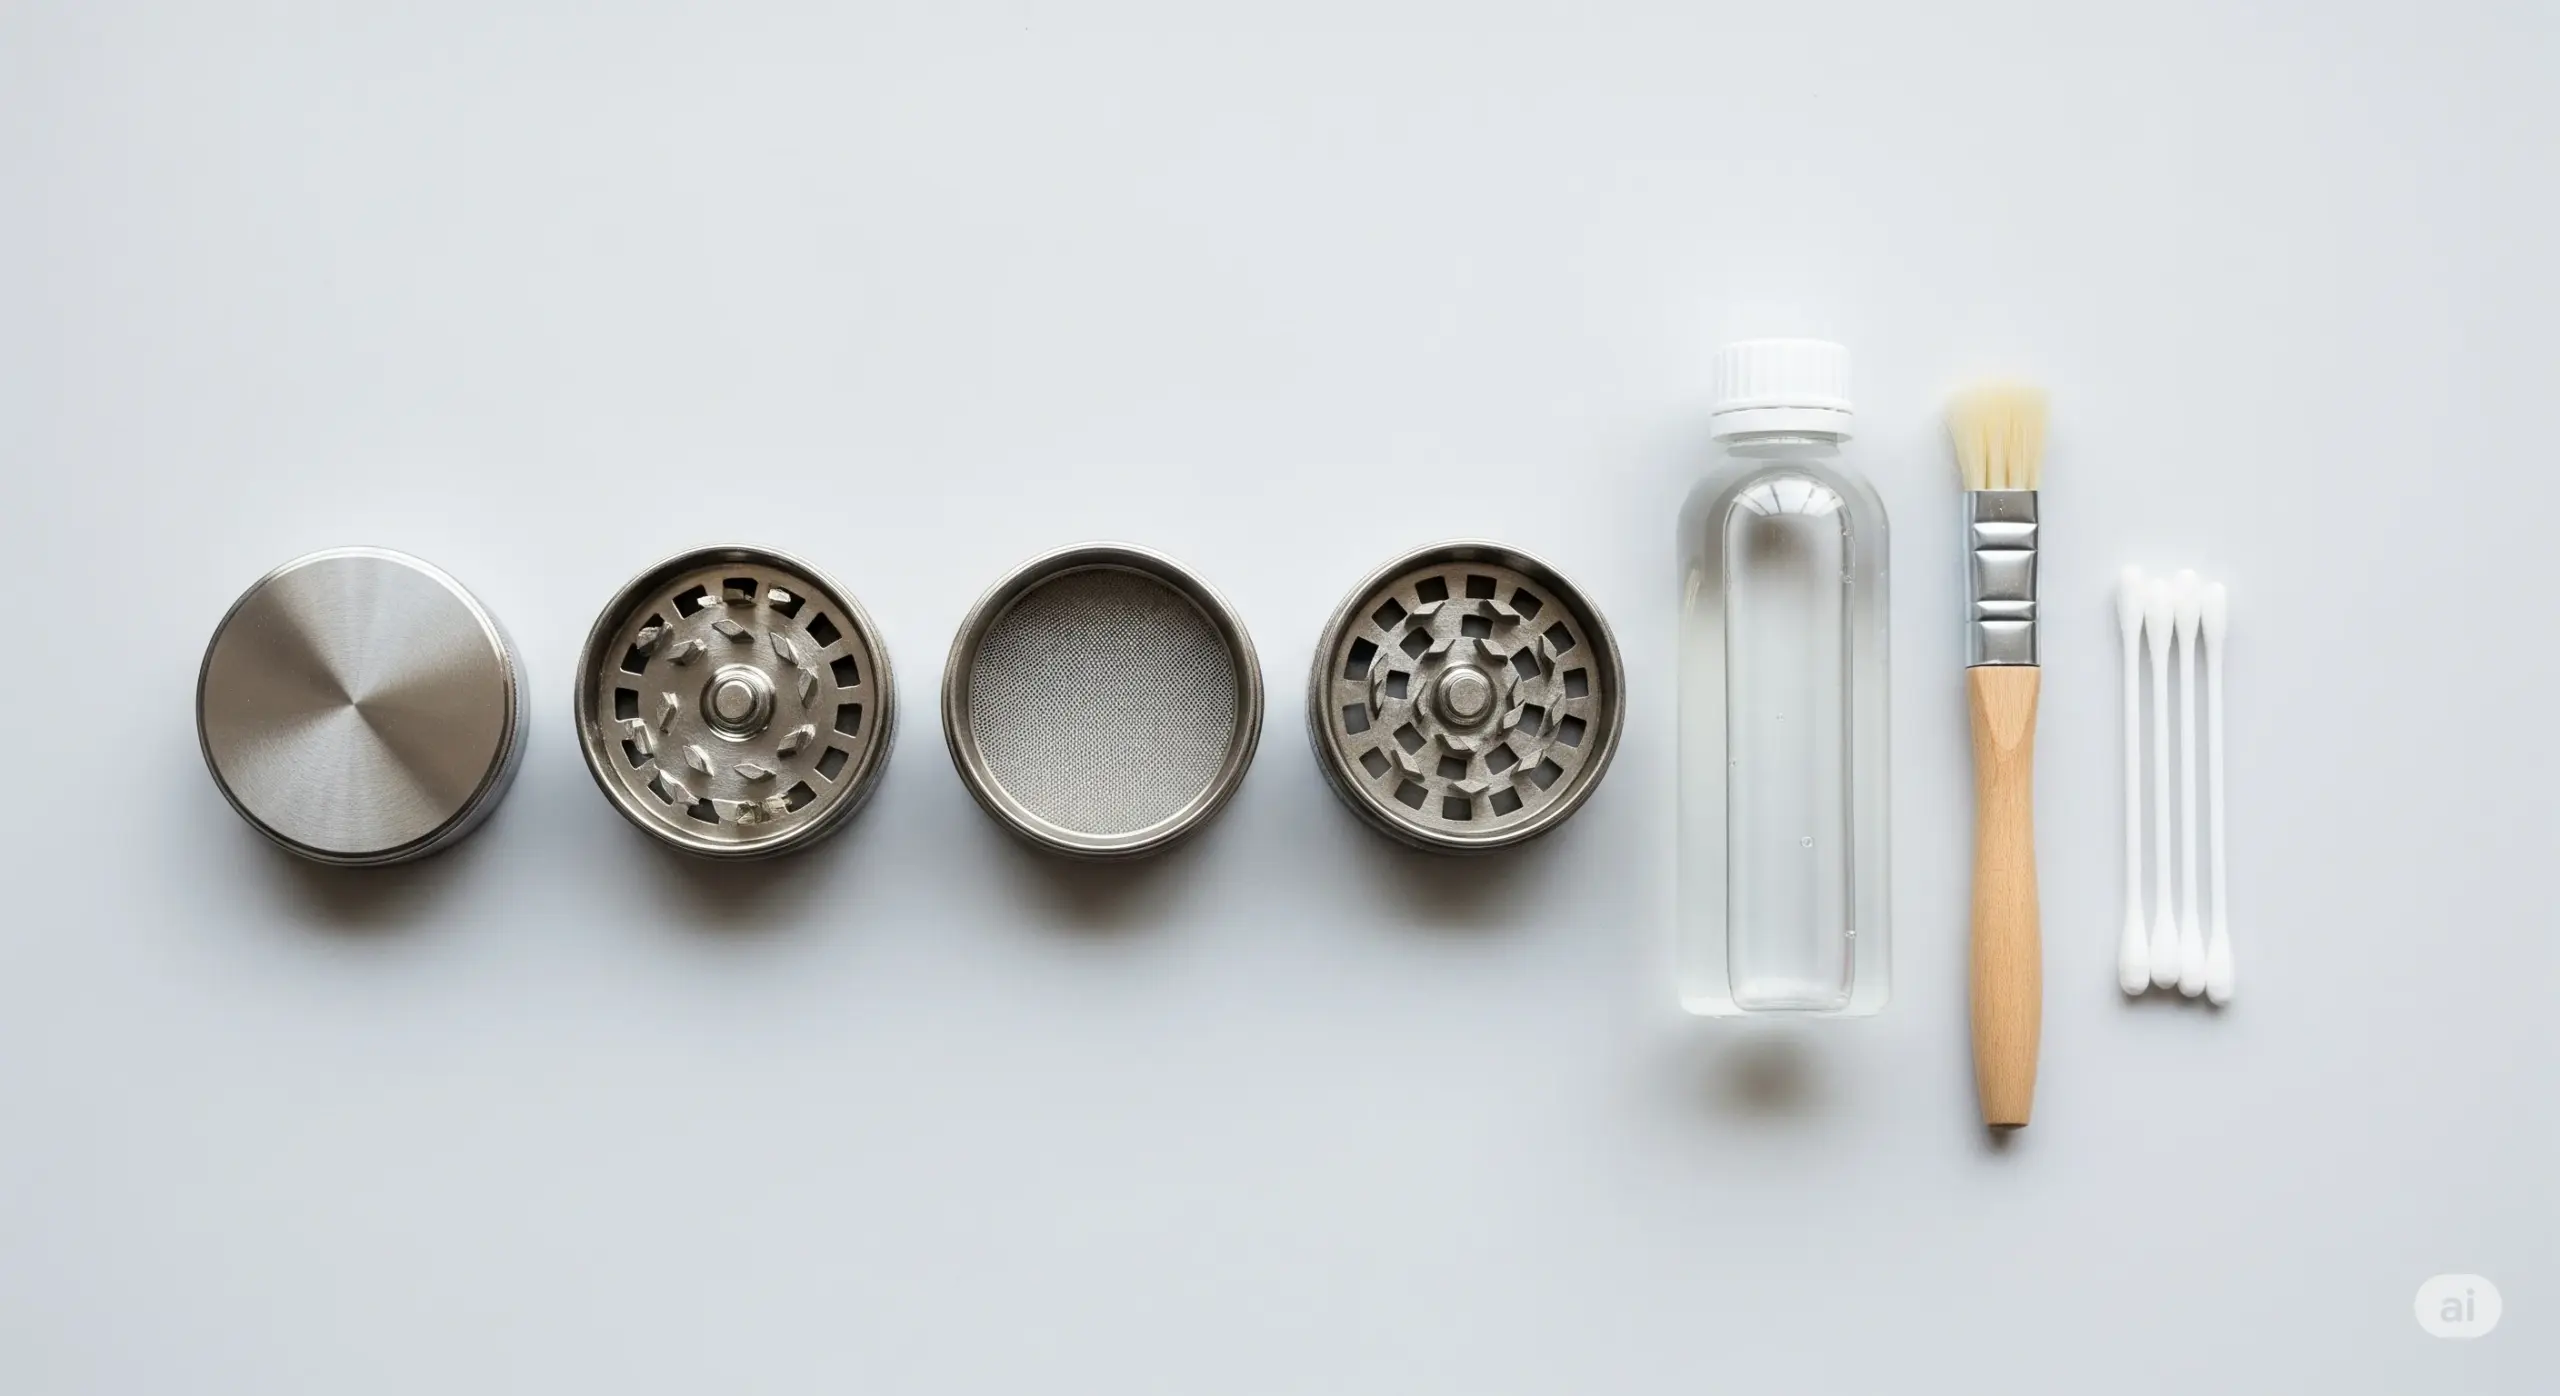
Alright, prep time! What do we need? Start with a soft brush—that’s a must. Get those nooks with a cotton swab. Trust me, they work wonders! Grab a damp cloth, bring paper towels. A real grinder cleaning kit right there. Dish soap? Yep, it’s on the list. For coffee zealots, Urnex Grindz might be your go-to grinder cleaner. Homemade solutions? Give it a shot. For heavy duty stuff, try the freeze pipe approach—the cold gets that sticky residue off like magic! And a rolling tray? Keeps the mess at bay!
Disassembling the Grinder
Have a manual grinder or an electric one? Let’s break it down safe and easy, step by step. Start with burr grinders, and blade grinders, take them apart carefully. Each grinder piece, every grinder component, they got their place. The bean hopper—don’t miss that! Metal or acrylic grinders? Handle them gently. Wooden grinders, they need extra care. Just don’t rush it. Keep track of each piece, so reassembly is smooth as butter!
Cleaning Process for Different Types of Grinders
Now, roll those sleeves up! Ready for some serious cleaning process? Each type of grinder—whether it’s metal grinders, plastic grinders, or others—has its take on a cleaning tango.
Coffee Grinder Cleaning
A clean coffee grinder is what every barista dreams of. Check the blade grinders and the burr grinders. Remove old grounds, clean the bean hopper. Rinse and repeat.
Herb/Weed Grinder Cleaning
All about sticky resin, really. Those herb grinders, cannabis grinders, with their residue? No worries! Aluminum grinder, metal, plastic, each has its dance. Tackle that sticky stuff gently.
Specialty Grinder Considerations
Got a wooden grinder? Treat it right. Burr grinders? Those blades need some attention too. Keep them sharp and ready for action!
Avoiding Common Cleaning Mistakes
Okay, so cleaning pitfalls? They sneak up! Water too much, and rust creeps in. Ugh! Forget to dry it? Mold says hello. Ew! Take time for thorough cleaning, and just listen to your grinder. Got signs of neglect? That’s the cue for a good clean. Regular cleaning beats anything!
Reassembly and Long-Term Care Tips
Here’s where care shines. Reassemble your grinder, fit each grinder component like a pro. No forcing, no jamming. Respect the puzzle pieces! For those who love their metal grinders or that acrylic grinder, put them back gently. Once assembled, it’s all about maintenance. Keep your smoking accessories tidy, and your grinders stored right. A clean grinder, folks, is a happy grinder. A long-lasting companion! So, how about making it part of your regular grind?
Conclusion
So, here we are! Keep your grinder clean—be it coffee grinding kings or those weed warriors. It’s all about the relationship, really. Regular cleaning routine? It’s a must. Respect your smoking accessories, show them love, and they’ll perform like champs. Clean grinders, happy grinders. In this dance of life, make them sing!
There you go. Cleaning grinders can seem like a chore, but get the right tools and set a mind to it, you’ll sail through easily. Chelsea Grin ain’t got nothing on you!
Also Interesting:
Delta 9 vs THC: Understanding the Differences
Is Weed a Psychedelic
How Long Does It Take to Grow Weed
